If you have a sweet tooth that loves the combination of rich chocolate and tart cherries, then you are absolutely going to fall in love with this Chocolate Cherry Dump Cake Recipe. It is hands-down one of the easiest and most comforting desserts you can make, requiring just a few pantry staples yet delivering a delicious, layered treat with fudgy cake, luscious cherry filling, and buttery goodness. This dump cake not only saves you prep time but also fills your kitchen with an irresistible aroma that invites everyone to the table.
Ingredients You’ll Need
Ingredients You’ll Need
The magic of this Chocolate Cherry Dump Cake Recipe lies in its simplicity and how each ingredient brings something special to the table—from the vibrant cherry pie filling to the devil’s food cake mix that ensures a moist, chocolatey top layer.
- Cherry pie filling (2 cans, 21 ounces each): The sweet-tart cherries add juiciness and vibrant color, creating the perfect fruit base.
- Devil’s food cake mix (1 box): Provides a rich, chocolate-flavored cake topping that bakes into a fudgy crust over the cherries.
- Butter (3/4 cup, melted): Adds luscious moisture and helps the dry cake mix crisp and brown beautifully.
- Whipped topping: A creamy, airy addition to serve on top that balances the dense chocolate and cherry layers.
- Vanilla ice cream: Optional but highly recommended; its cool creaminess pairs like a dream with the warm cake.
How to Make Chocolate Cherry Dump Cake Recipe
Step 1: Preheat Oven and Prepare Pan
Start by heating your oven to 350°F (175°C). Then lightly spray the bottom of a 13×9-inch baking dish with cooking spray to make sure your cake won’t stick and will come out beautifully clean when ready.
Step 2: Layer Cherry Filling
Open the cans of cherry pie filling and spread the cherries evenly across the bottom of your prepared pan. This fruity layer will form the juicy and flavorful heart of the cake, so make sure it’s nicely distributed.
Step 3: Add Cake Mix
Now sprinkle the dry devil’s food cake mix evenly on top of the cherry layer. Cover the cherries completely with the cake mix—it may look dry and dusty, but that’s exactly how it should be before adding the butter.
Step 4: Pour Melted Butter
Drizzle the melted butter evenly over the dry cake mix. To make this easier, you can tilt the pan gently from side to side to help the butter spread and soak into the cake mix, although a few dry spots won’t hurt because the cake will bake perfectly regardless.
Step 5: Bake Your Cake
Bake the entire cake for 40 to 45 minutes, or until you see the edges bubbly and the cake topping has set into a rich, chocolatey crust. The aroma by this point will be irresistible!
Step 6: Cool and Serve
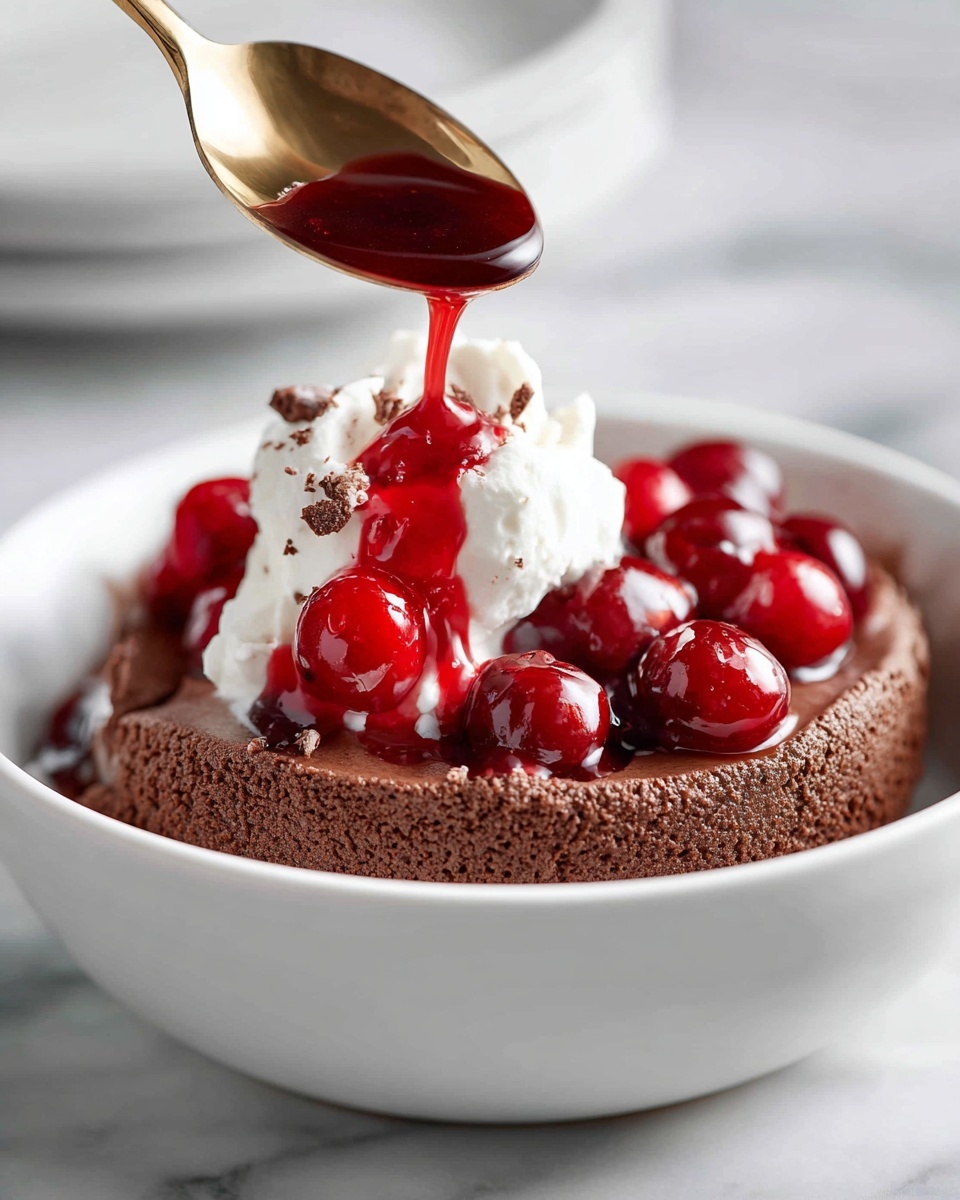
Let the cake cool for about 10 minutes before serving. This resting time helps the layers settle perfectly, making each bite an absolute delight. Serve warm, topped with a generous scoop of vanilla ice cream or a dollop of whipped topping for that extra indulgence.
How to Serve Chocolate Cherry Dump Cake Recipe
Garnishes
A simple swirl of whipped topping or a scoop of creamy vanilla ice cream complements the chocolate and cherry flavors beautifully. For a little extra flair, sprinkle some chopped toasted almonds or a dusting of powdered sugar on top. It adds a lovely texture and visual appeal.
Side Dishes
This dessert is a star on its own, but if you’re serving it at a dinner party or family gathering, pairing it with fresh berries or a light, fruity salad is a fantastic way to balance the richness. A cup of hot coffee or a cold glass of milk always makes a wonderful companion to this warm, comforting treat.
Creative Ways to Present
For a fun twist, try serving the Chocolate Cherry Dump Cake Recipe in individual ramekins or small mason jars, which makes portioning easy and looks adorable for get-togethers. Another idea is to layer it with extra cherries or chocolate chips between spoonfuls in a parfait-style dessert glass for your guests to admire before digging in.
Make Ahead and Storage
Storing Leftovers
After enjoying this beautiful cake, any leftovers should be stored tightly covered in the refrigerator. It keeps well for up to 3 days and the flavors only get better once the cherries and chocolate have had time to meld even more.
Freezing
If you want to save some for later, this dump cake freezes wonderfully. Wrap it tightly with plastic wrap and aluminum foil or place it in an airtight container. Frozen leftovers can last up to 3 months; just thaw overnight in the fridge before reheating.
Reheating
When you’re ready to enjoy the leftovers, warm them gently in the oven at 325°F (165°C) for about 15-20 minutes or until heated through. Avoid microwaving if possible to keep the topping crispy, but if you’re in a hurry, a quick 1-2 minute zap will work too.
FAQs
Is this Chocolate Cherry Dump Cake Recipe difficult to make?
Not at all! It’s actually one of the simplest desserts you can whip up. With just a few easy steps and minimal prep, you can have a delicious, homemade cake that tastes like you spent hours in the kitchen.
Can I use a different kind of fruit instead of cherries?
Absolutely! Peaches, blueberries, or even mixed berries all work wonderfully with this dump cake style, but the classic cherry-chocolate combination is especially delicious and comforting.
Do I have to use devil’s food cake mix?
Devil’s food cake mix gives the best rich chocolate flavor, but you could try other chocolate cake mixes if needed. Just keep in mind it might alter the texture slightly.
What’s the best way to serve this cake warm?
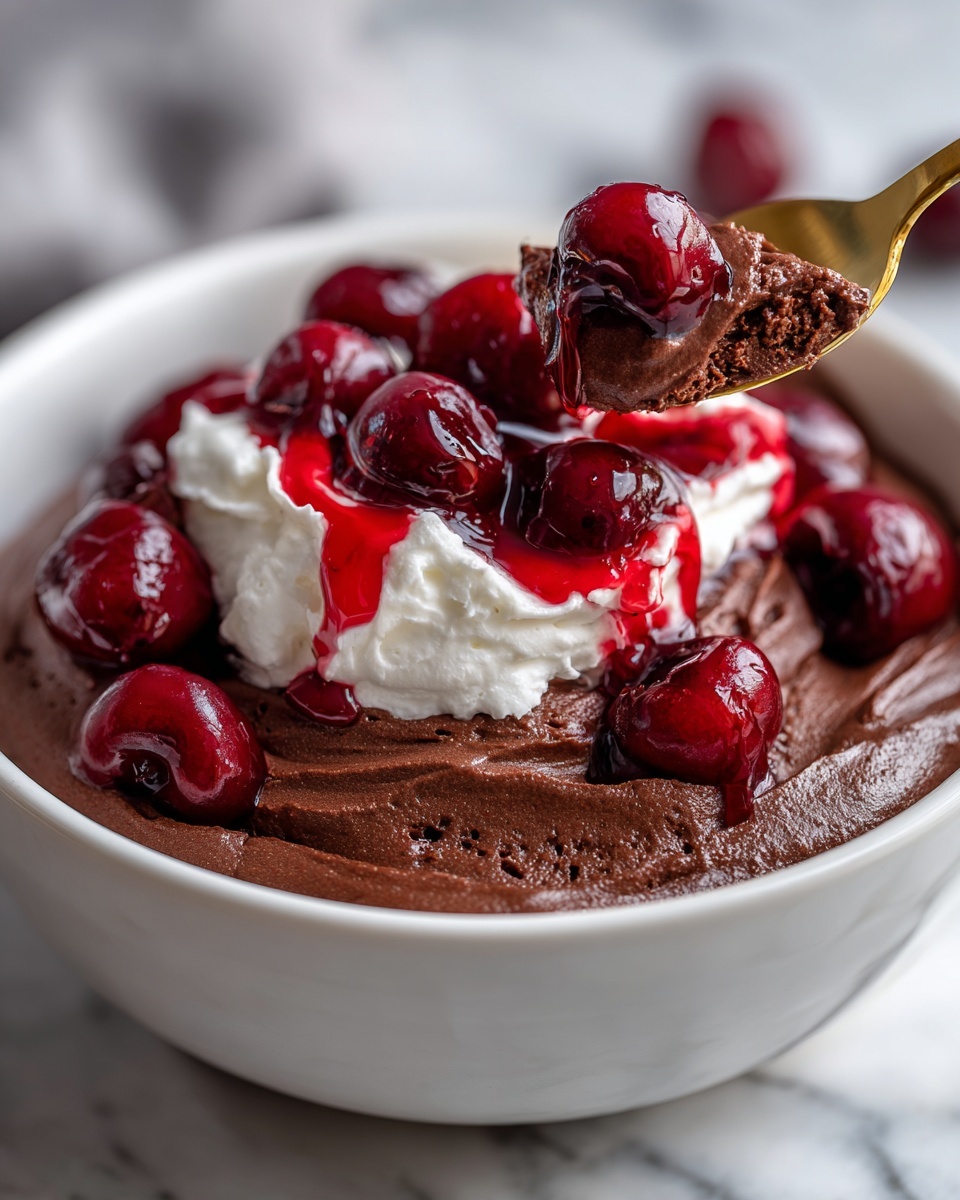
Serving it warm with vanilla ice cream or whipped topping is the best way to enjoy the contrast of cool, creamy, and warm, fudgy textures. It’s pure comfort food bliss.
Can I make this dessert dairy-free or vegan?
Yes, you can substitute melted dairy-free margarine or coconut oil for butter, and look for a dairy-free chocolate cake mix. Use coconut whipped cream and vegan ice cream for toppings to keep it completely plant-based.
Final Thoughts
This Chocolate Cherry Dump Cake Recipe is a true game changer when you want a dessert that’s easy, flavorful, and impressive without the fuss. It brings together the best of chocolate and fruit in a cozy, comforting cake that everyone will rave about. Give it a try soon—you’ll be glad you did!
Print
Chocolate Cherry Dump Cake Recipe
- Prep Time: 5 minutes
- Cook Time: 40-45 minutes
- Total Time: 50 minutes
- Yield: 6 servings
- Category: Dessert
- Method: Baking
- Cuisine: American
Description
This Chocolate Cherry Dump Cake is an easy and delicious dessert featuring cherry pie filling topped with moist devil’s food cake and melted butter, baked to bubbly perfection. Served warm and optionally garnished with whipped topping or vanilla ice cream, this quick-to-make cake is perfect for satisfying sweet cravings without fuss.
Ingredients
Main Ingredients
- 2 cans (21 ounces each) cherry pie filling
- 1 box devil’s food cake mix
- 3/4 cup butter, melted
For Serving
- Whipped topping (optional)
- Vanilla ice cream (optional)
Instructions
- Preheat Oven and Prepare Pan: Preheat your oven to 350°F (175°C). Lightly spray the bottom of a 13×9-inch baking dish with cooking spray to prevent sticking.
- Layer Cherry Filling: Evenly spread the cherry pie filling across the bottom of the prepared baking dish, creating a uniform layer.
- Add Cake Mix: Sprinkle the dry devil’s food cake mix evenly over the top of the cherry pie filling, ensuring the filling is fully covered.
- Add Butter: Pour the melted butter evenly over the dry cake mix layer. Tilt the pan gently if needed to help the butter cover as much of the surface as possible; some dry spots are acceptable as they will bake through.
- Bake the Cake: Place the baking dish in the preheated oven and bake for 40 to 45 minutes, or until the edges are bubbly and the cake topping is set and cooked through.
- Cool and Serve: Allow the cake to cool for about 10 minutes before serving. Serve warm topped with whipped topping or a scoop of vanilla ice cream if desired for extra indulgence.
Notes
- You can substitute cherry pie filling with other fruit pie fillings for variety.
- Make sure to melt the butter completely to ensure even distribution over the cake mix.
- For a crunchier top, you can broil the cake for 1-2 minutes at the end, watching carefully to avoid burning.
- Leftovers can be refrigerated and reheated gently in the microwave.
